tom knowles jackson
ceramics
  • Home
  • ABOUT ME
  • Gallery
  • Shop
  • TKJ Products
    • TKJ Standing Turntable
    • The McMeekin Wheel
    • A Potter's Tool
    • Wall Mounted Display
  • Contact

Gas Kiln - Part 1: The Build

1/15/2017

8 Comments

 
In June 2016 I saw an advert on eBay for a gas kiln.  desperate to begin my schooling in reduction firing i was pleased to be the successful bidder.
​To call it a kiln is not strictly accurate.  I collected 8 boxes of refractory bricks, of which 2/3's were in good condition, There was no frame and no pictures of what the jigsaw puzzle should look like when built.  Thankfully the kiln did come with the original hand written instructions by a Mr Mick Casson.
Picture
Original photo copies of plan thought to be hand written by Mick Casson.
Picture
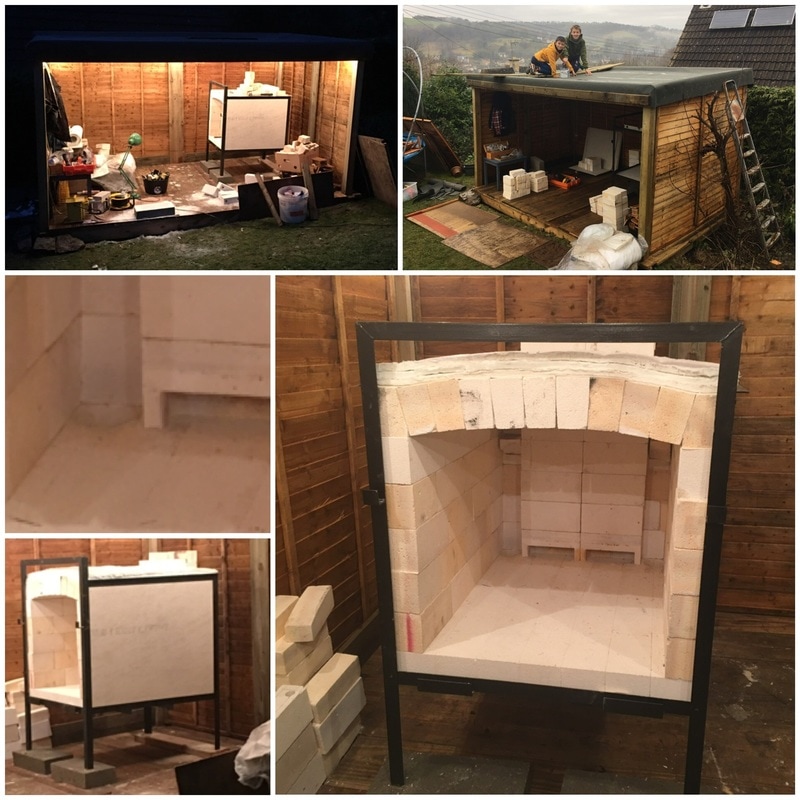
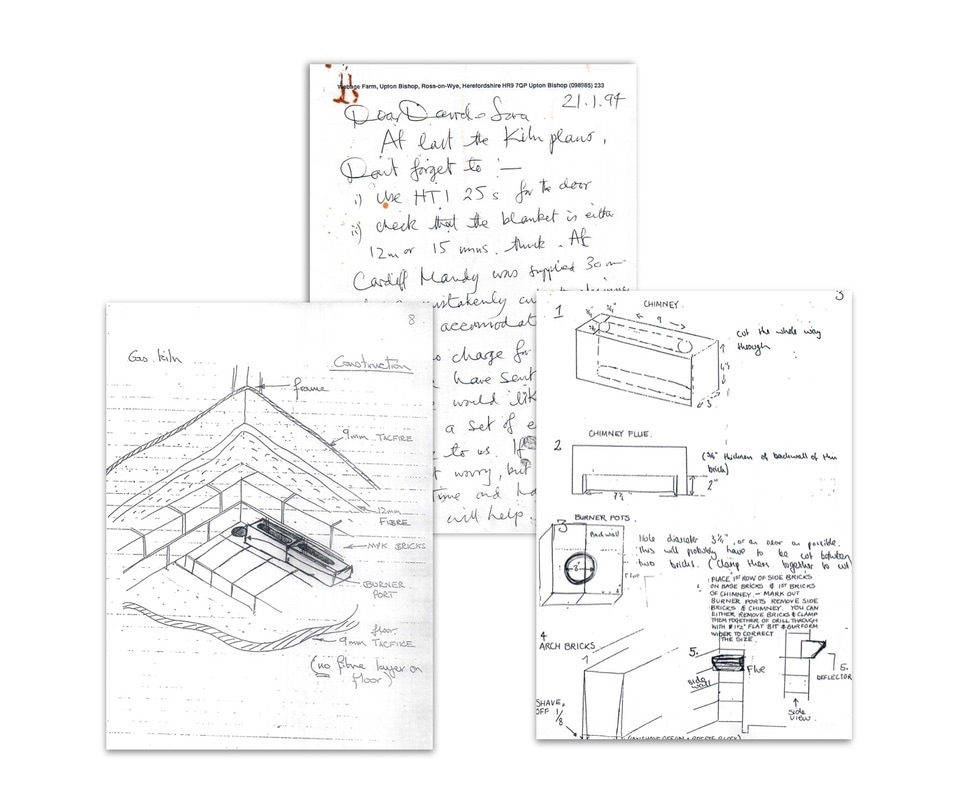
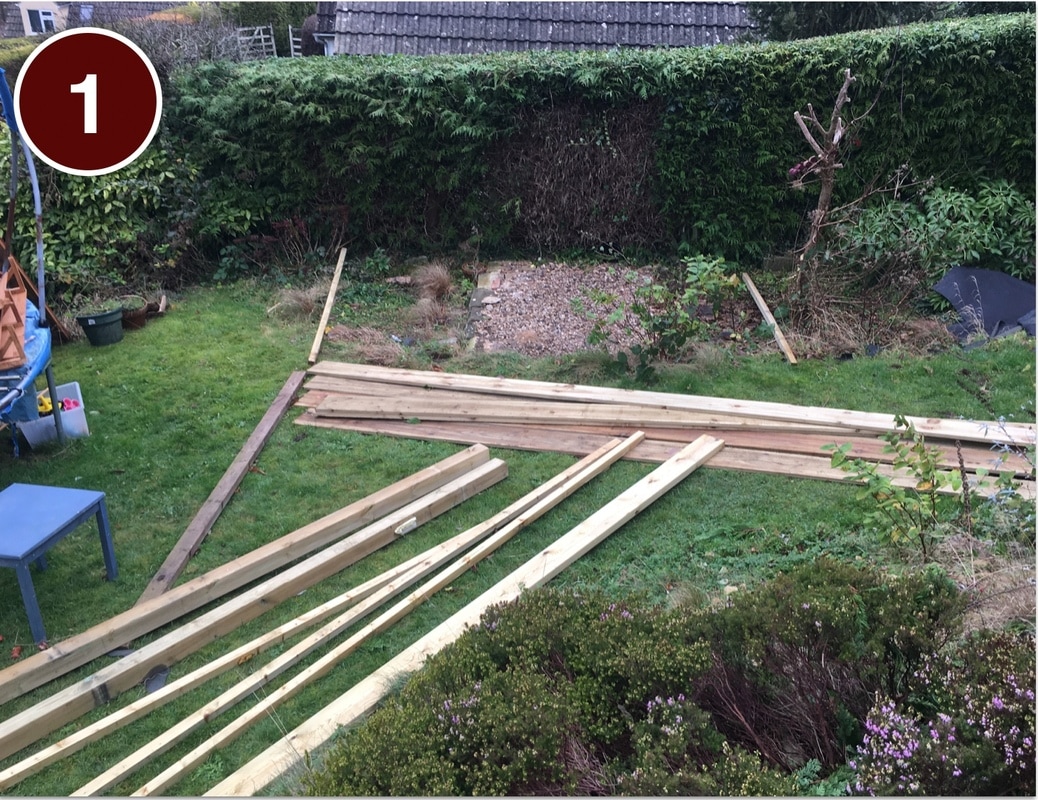
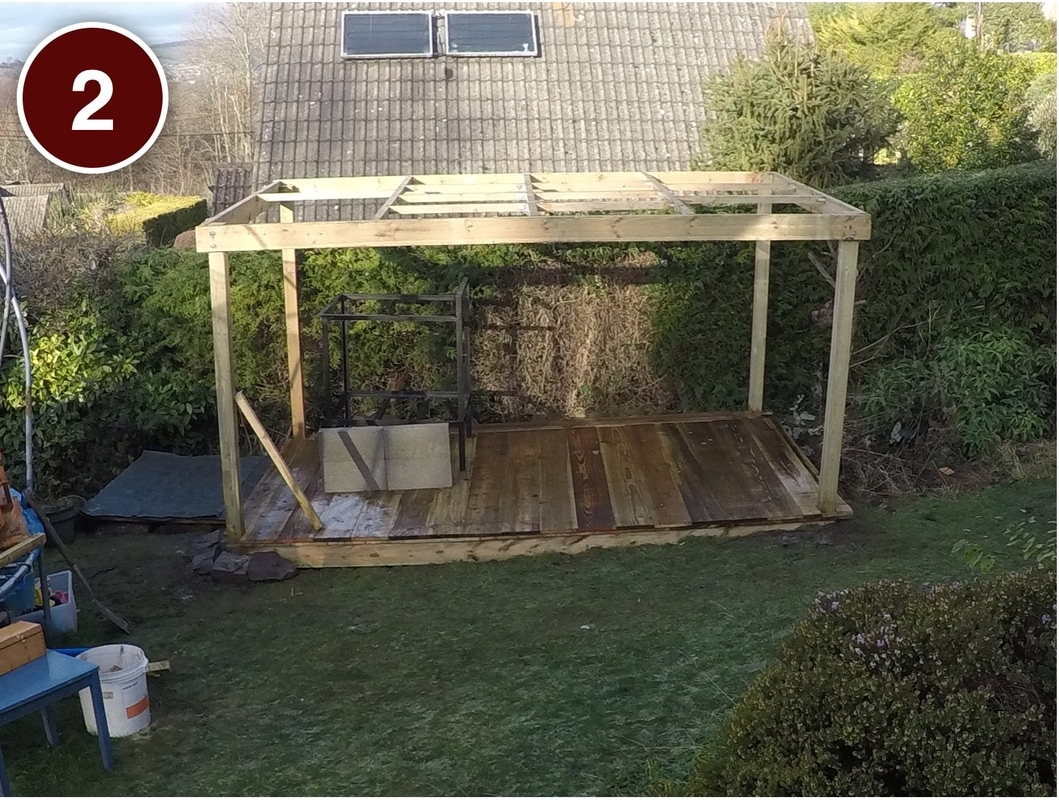
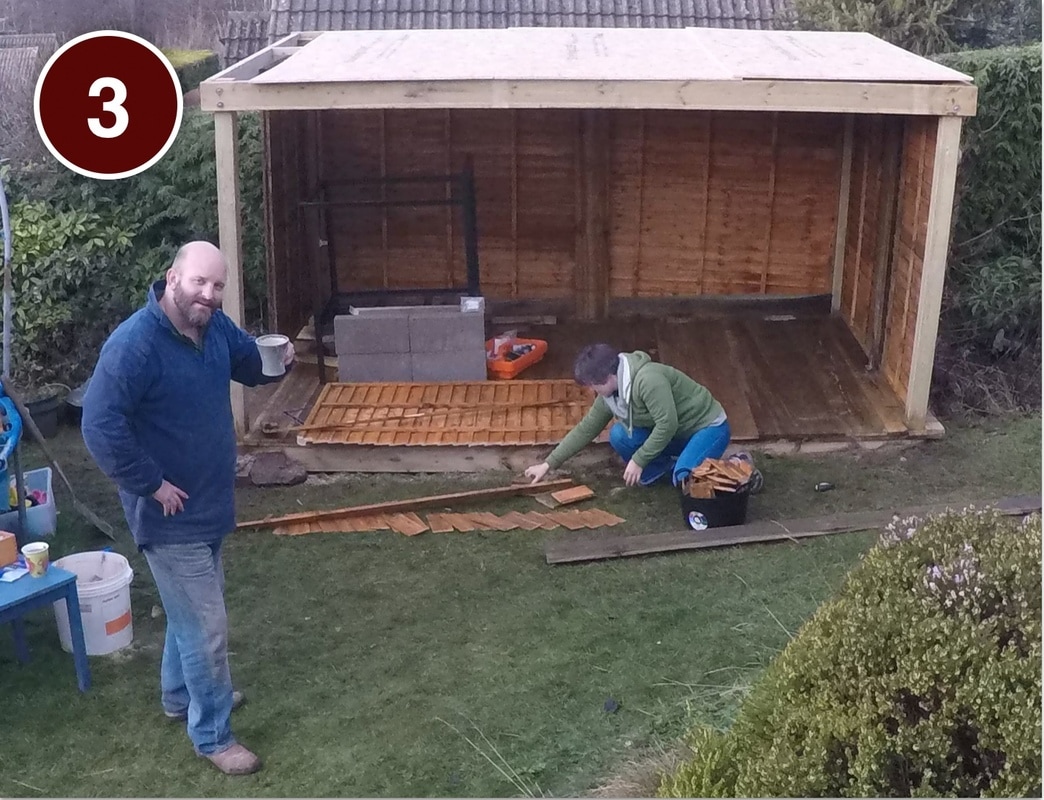
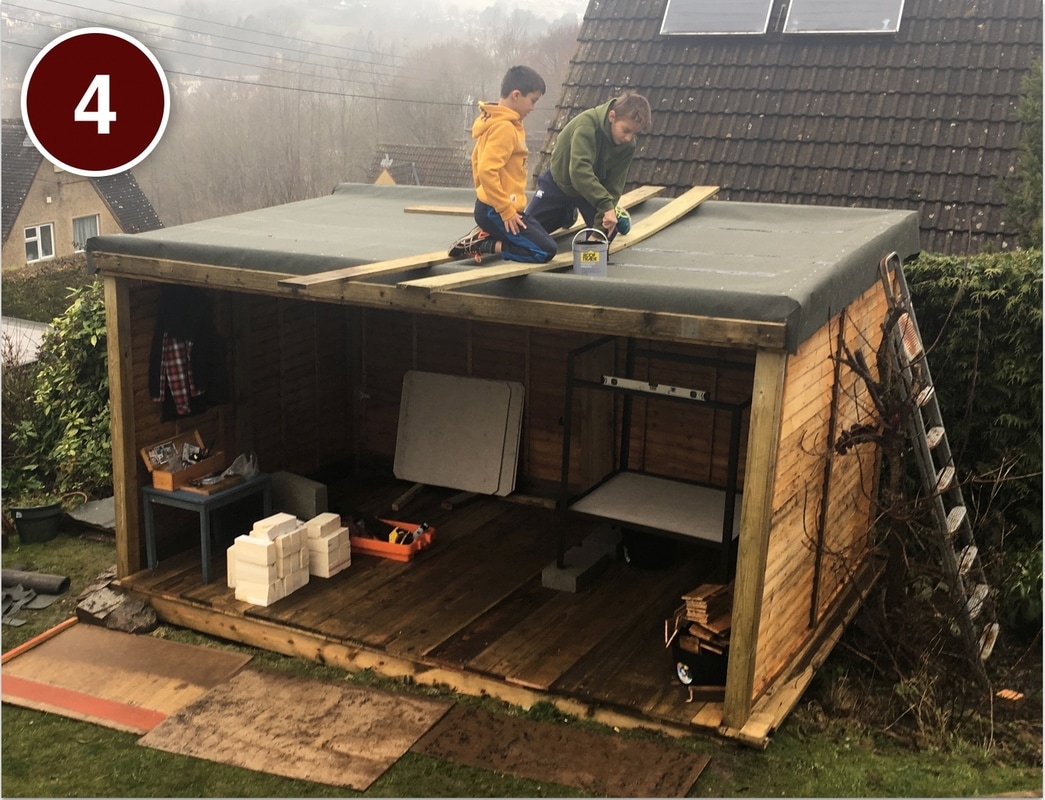
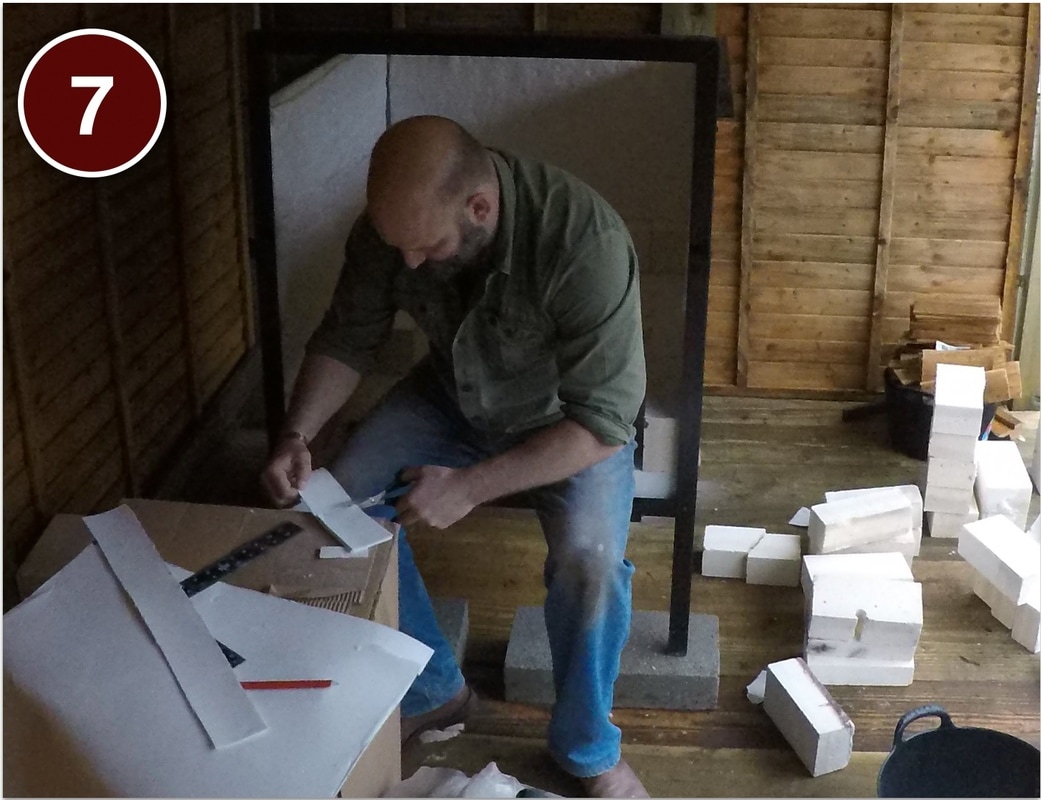
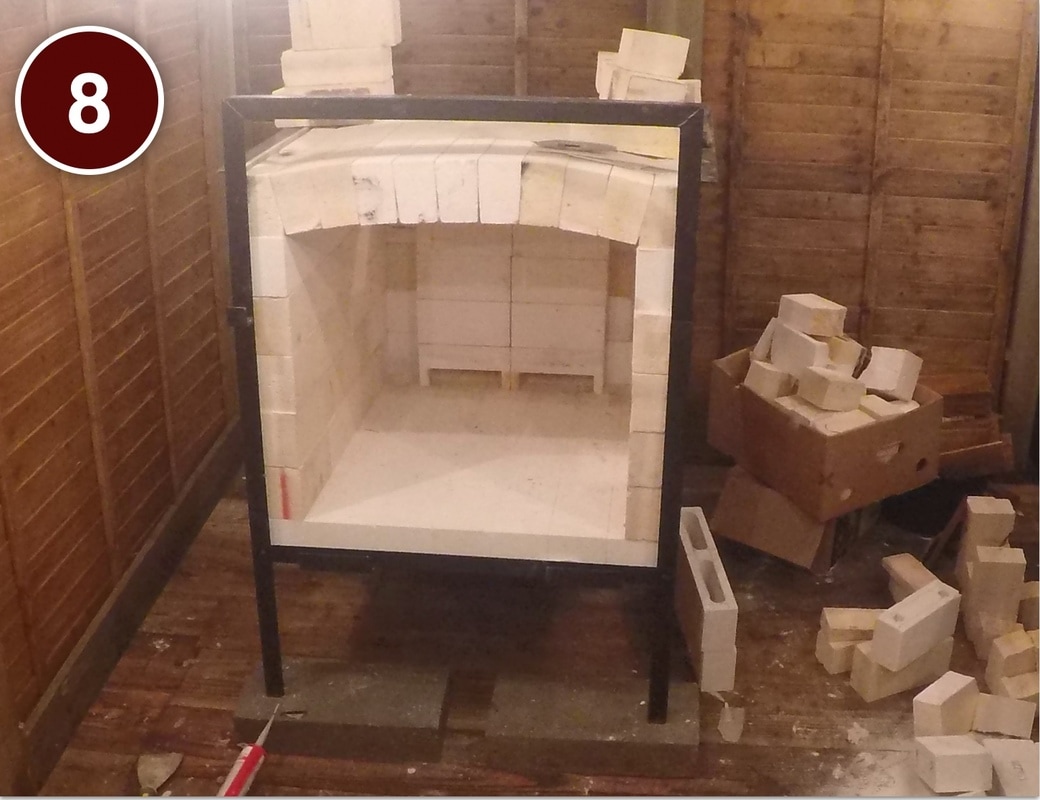
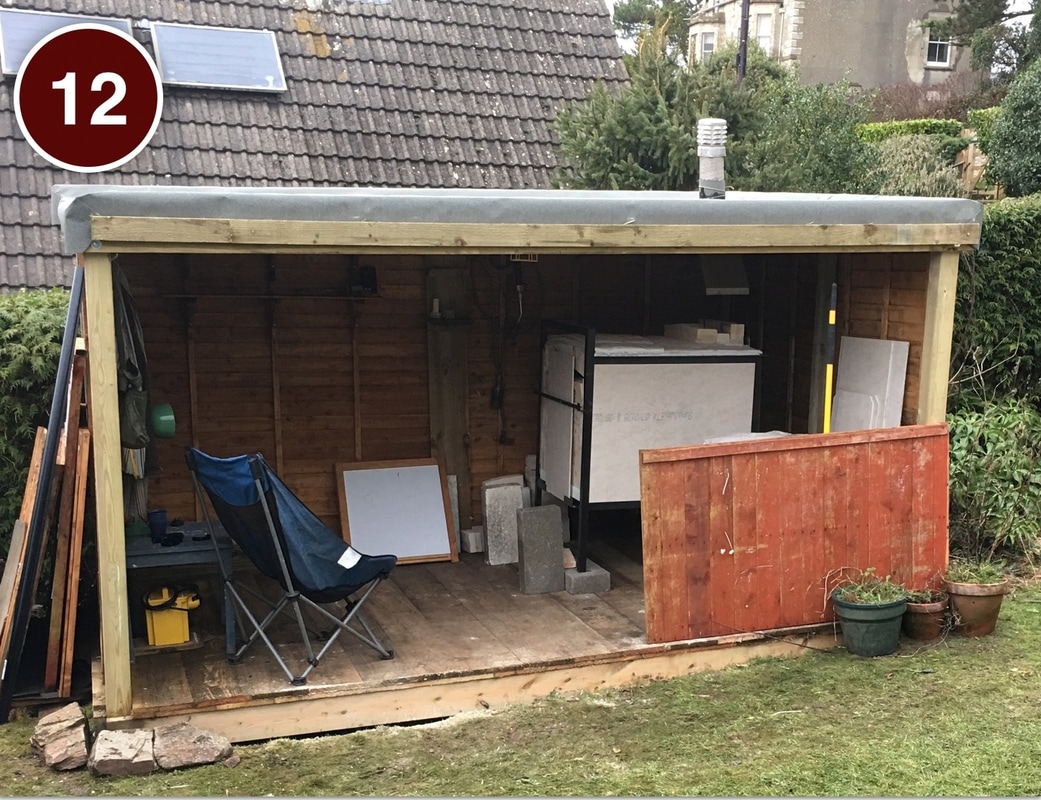
The plans in themselves were helpful but lacked an overall picture of what the kiln would look like.  Thankfully there were enough intact arch bricks and the entire wicket (though I've subsequently had to remake this from fresh HTI26's) to enable me to piece together with the help of the plans a structure and plan.

The bricks, plan and burners (yet to be fully tested) cost me £200.  I have had to buy an additional 80 HTI26 refractory bricks, ceramic paper, ceramic blanket and Supalux board and have also had to commission the frame from a local metalworks near Stroud.  This would make the total cost of materials, original bricks and plans bro £800.

Building the kiln was, however, frustrated by the need for it to have a home to live in.  There being no other structure to house it the first teas was to build a shed.
The before shot.... Little did I know the toil it would involve!!
Basic structure built - end of day 1
Tinkering with the walls (fence panels) and roofing. Well earned tea break - mug by John West!
Roof on! Don't look too closely at the health and safety at work!!
Finally able to get on with the kiln. Played around with the position for a while - gas access, vent space and crawl room were all considerations.
Supalux board cut to size and lined with 15mm ceramic fibre blanket for insulation. Note the frame had to be made mm perfect.
Cutting ceramic paper (2mm). This was used in place of cement between the bricks for added insulation.
The flue proved one of the biggest challenges. the flue bricks had to be carefully hollowed out which took time and a knack!
Structure built, flue in and roof on. Most of the arch bricks had to be shaved from new and the arch arrangement around the flue was a bit of guesswork.
Servicing and attaching the burners.
The burners attache to a cross beam that can be raised and lowered to introduce or restrict oxygen in firing - I suspect I'll still need to crawl under with fibre wedges to achieve reduction though!
And there we have it. Awaiting the gas bottles but otherwise ready to the inaugural firing!!
8 Comments

    Author

    Tom K Jackson

    Archives

    January 2017
    May 2016
    July 2015
    May 2015
    January 2015
    September 2014
    June 2014
    November 2013

    Tweets by @thekayjays

    RSS Feed

Picture
TKJ Ceramics Ltd
A private limited company incorporated under the Companies Act 2006 and registered in England and Wales; company number:
10496837

Email: [email protected]
Tel: 07507 069566
www.TKJceramics.com
  • Home
  • ABOUT ME
  • Gallery
  • Shop
  • TKJ Products
    • TKJ Standing Turntable
    • The McMeekin Wheel
    • A Potter's Tool
    • Wall Mounted Display
  • Contact